Working With Security History
| Getting Started and Selecting a View | Searching and Examining Details | Quarantining Suspect Software | Restoring Quarantined Software | Submitting a File | Taking Other Actions With Alerts |
Searching and Examining Details
Searching can be started from any view, although it only includes the current items shown in the list. This arrangement enables you to refine a search. Details of an alert can be examined in the list, in the right sidebar, and in a separate window for Advanced Details.
As you search for an alert and examine its details, keep these functional points in mind.
Searching
- If you want your search to include all of the items in Security History, select the Full History view.
- Use one word only as a search term—for example, a single key word such as Auto-Protect or the name of a security risk such as Adware.Hotbar.
- To clear all searching click
 next to the Quick
Search field.
 - To refresh the list, click
 .
. - Searching is not case-sensitive.
- You cannot search the Date & Time column, but you can search the Level, Title, and Status columns. Apart from these columns, the search function also examines text in advanced detailed information kept in the alert.
Examining Details of an Alert
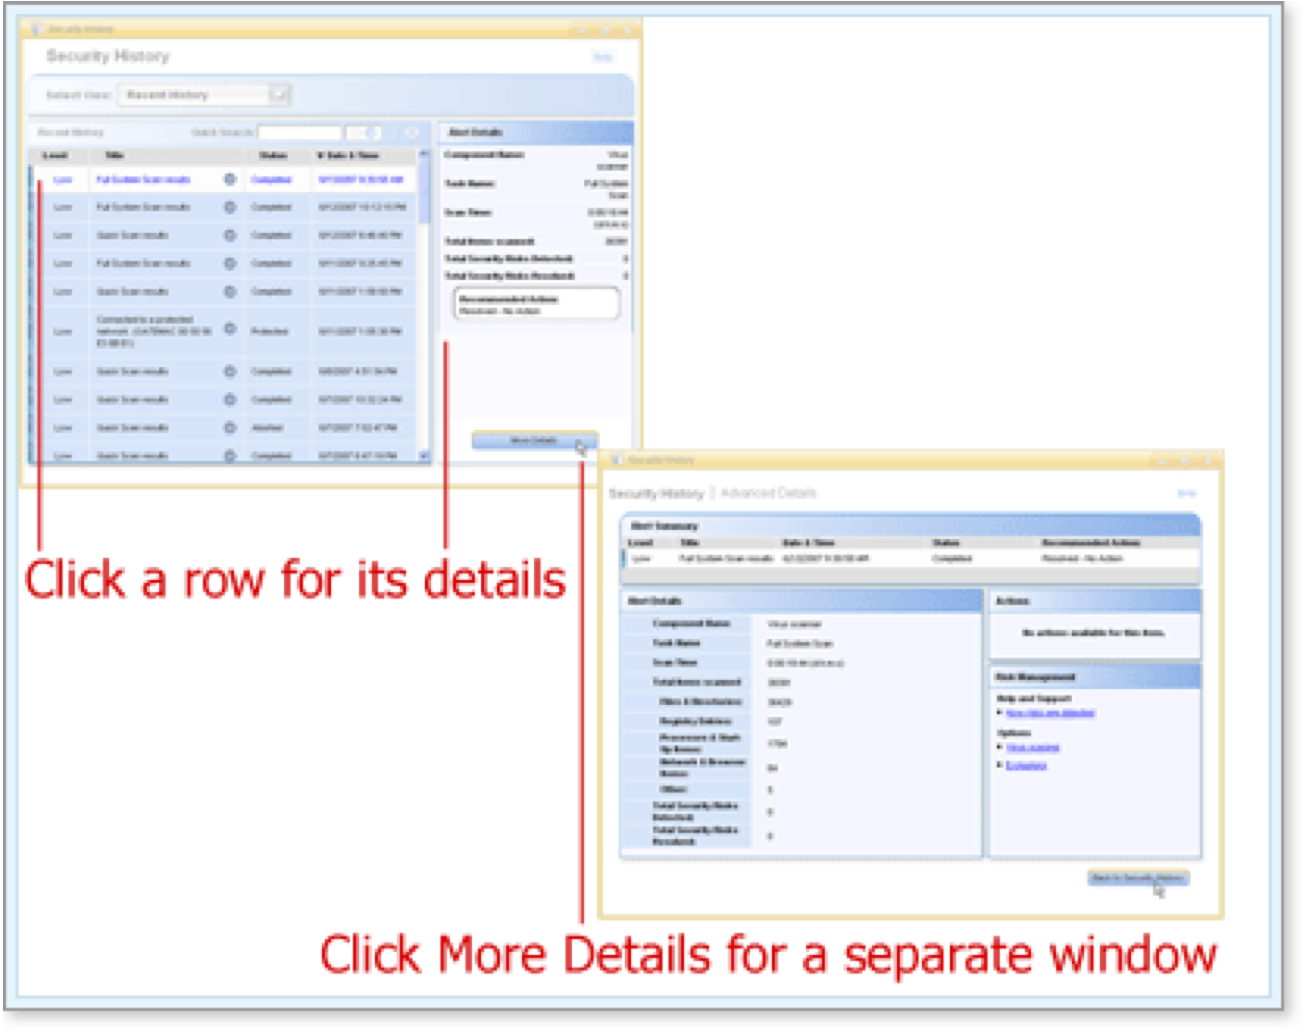
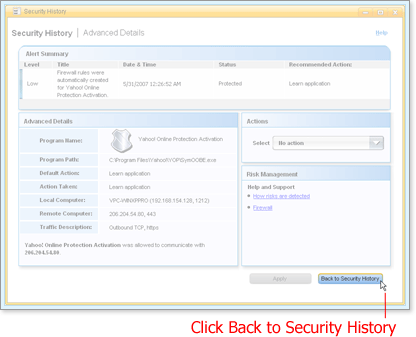
Security History displays details of an alert in the list, sidebar, and an Advanced Details window.
The details vary for the type of alert. The Advanced Details window provides links for additional help and information, and, in some cases, buttons for taking action.
The following procedure outlines the steps of refining a search and opening the Advanced Details window. For the purposes of the tutorial, the search finds a simple, low-level, inconsequential example of an alert.
(More Details)
Here's How
-
Open Security History and click the current view name. (Remind me how.)
-
Choose Full History from the list that opens.
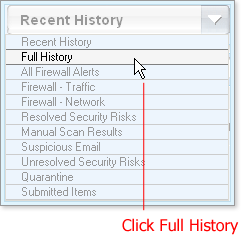
Security History displays the full history of detected events and alerts.
-
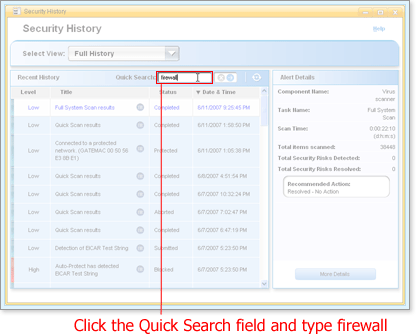
Click the Quick Search field and type firewall in it.
-
Press the Return key or click
 next to the Quick Search
field.
next to the Quick Search
field.Security History displays the full history of events and alerts containing the word firewall.
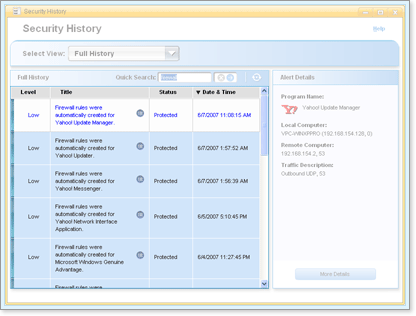
-
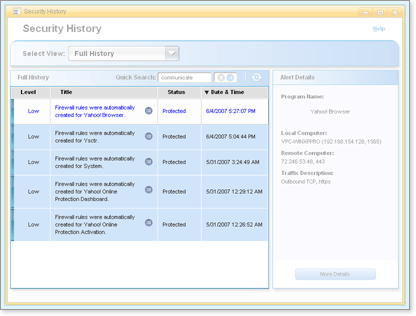
Click the Quick Search field, backspace over firewall, and type communicate.
-
Press the Return key or click
 next to the Quick Search
field.
next to the Quick Search
field.Security History displays the full history of events and alerts containing the word firewall and the word communicate.
-
Open the Advanced Details window in one of the following ways:
-
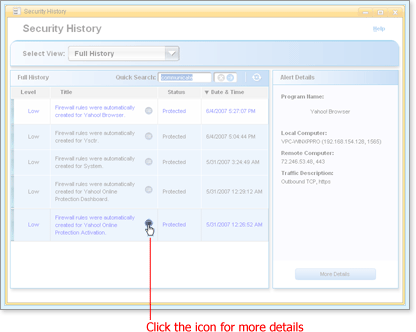
Click
 in the Title column of the last item in the list.
-
Click the last item in the list, which displays the alert details in the right sidebar, and click More Details.
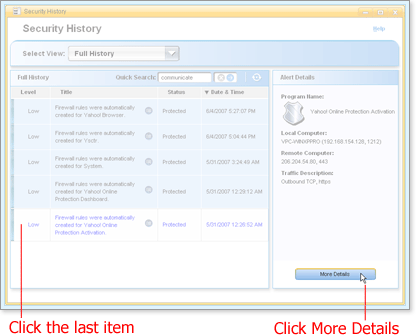
The Advanced Details window opens for the item you chose.
-
-
When you are done examining the details, click Back to Security History.
What's Next
Risks are usually quarantined right away. Sometimes there are files you suspect as risks that Norton Security Online doesn't. Norton Security Online provides a way to quarantine these risks.
Words to Know
- Alert: A message that appears to signal that an error has occured or that there is a task that requires immediate attention, such as a virus alert.
